

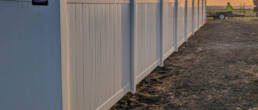
Installation day goes a lot smoother when your yard is ready before the crew ever shows up. A little bit of prep work in the days before your project starts can prevent delays, protect your landscaping, and help everything move on schedule from the first post to the final walkthrough. Whether you are adding a new privacy fence, replacing an old one, or pairing a fence with a deck or pergola, the steps below will help you get your yard ready for a smooth fence installation. Most of these steps only take an afternoon or two, but tackling them ahead of time can save your crew hours of extra work and keep your project on schedule from start to finish. A little preparation also gives you peace of mind heading into installation day, since you will already know what to expect instead of scrambling to move things around at the last minute.
1. Clear and Mark Your Fence Line
Remove Debris, Furniture, and Landscaping
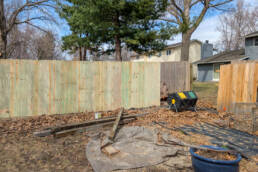
Start by walking the planned fence line and clearing anything that could get in the way of digging or setting posts. This includes patio furniture, potted plants, garden hoses, decorative rock, and any low-hanging branches near the property line. If you have shrubs, garden beds, or small trees close to where the fence will go, it is worth relocating them a few weeks ahead of time so the roots have a chance to settle in their new spot. Clearing the line also gives the crew a clean, accurate view of the yard, which helps the entire installation move faster. Do not forget to check for buried sprinkler heads, decorative edging, or landscape borders that run along the fence line, since these are easy to overlook until a post is already going in the ground nearby. Taking a few photos of the yard beforehand can also help you remember exactly where everything was once the project wraps up, especially if you plan to replant flower beds or reposition garden borders once the new fence is in place.
Confirm the Property Line with Your Neighbors
A quick conversation with your neighbors before installation day can prevent confusion later. Let them know a new fence is going in, roughly when work will begin, and where the property line falls. If there is ever a question about where the line sits, a recent survey or plat map can settle it before any posts go in the ground. This small step goes a long way toward keeping the project friendly and avoiding disputes once the fence is finished. It is also a good opportunity to let neighbors know if their own landscaping, sprinkler heads, or storage items happen to sit close to the shared line, so everyone has a chance to move anything they would rather keep out of the way.
2. Call 811 Before Digging Begins
Before any fence posts are set, underground utility lines need to be marked. Calling 811, the national call-before-you-dig hotline, brings out local utility companies to flag the location of gas lines, electrical lines, water lines, and other buried infrastructure on your property. This step is especially important for taller privacy fences and custom entry gates, since gate posts are often set deeper and closer together than standard fence posts. Utility marking is typically free, but it does take a few business days, so it is best to schedule it as soon as your installation date is confirmed rather than waiting until the week of the project. Once the lines are marked with small flags or paint, avoid mowing or disturbing those areas until installation begins, since the marks can fade or wash away in the rain sooner than you might expect.
If your yard has an irrigation system, invisible pet fence, or low-voltage landscape lighting, mark those separately as well, since 811 generally does not cover privately installed lines. A quick walk-through with your installer ahead of time helps everyone avoid an unexpected surprise once digging starts. This is also a good time to double-check where your own gas grill line, well, or septic system sits if your property has one, since older installations are not always documented in city records.
3. Think Through Drainage and Grading
Yards are rarely perfectly flat, and grade changes can affect how a fence sits along the property line. Before installation, take note of any low spots where water tends to pool after a heavy rain, since these areas may need extra attention to keep the fence line stable over time. If your yard slopes significantly from one end to the other, mention it during your estimate so your installer can plan for stepped panels or a racked fence line that follows the ground naturally instead of leaving gaps underneath. Standing water near the planned fence line can also affect how well posts hold over time, so it is worth pointing out any spots that stay soft or muddy for days after a storm. In some cases, simple grading adjustments before installation can redirect water away from the fence line entirely, which helps protect your investment for the long run rather than dealing with soft ground year after year.
This is also a good time to think about how a fence will work alongside other outdoor plans. If you are considering a deck or pergola down the road, letting your installer know now can help the two projects tie together instead of competing for the same space later. Planning drainage and layout together upfront tends to save homeowners both time and money compared to adjusting one project around the other after the fact. Even if a deck or patio is still a year or two away, sharing that plan now allows your installer to leave enough room and set gate placement in a way that will not need to be reworked later.
4. Check HOA Rules, Permits, and Setbacks
Many central Iowa neighborhoods have specific rules about fence height, style, and placement, and some require approval before work begins. Skipping this step is one of the most common reasons a project gets delayed partway through, so it deserves attention well before your installation date. Confirm the following so there are no surprises once your crew arrives:
- Whether your HOA requires an approved application or design review before installation
- Any maximum height limits, especially for pool code compliance
- Which materials and colors are approved, since some communities restrict certain vinyl or wood styles
- Required setback distance from the property line or sidewalk
- Whether a city permit is needed in addition to HOA approval
If you live in a community like West Des Moines with an active HOA, it is worth reaching out to your board a few weeks before your planned start date. Approval timelines vary, and getting ahead of the process means your installation will not be delayed by paperwork once your crew is scheduled. If your neighborhood requires a formal application, ask whether photos, a site plan, or a materials list needs to be submitted, since gathering those details early can shave days off the approval process.
5. Plan for Gates, Pets, and Access During Installation
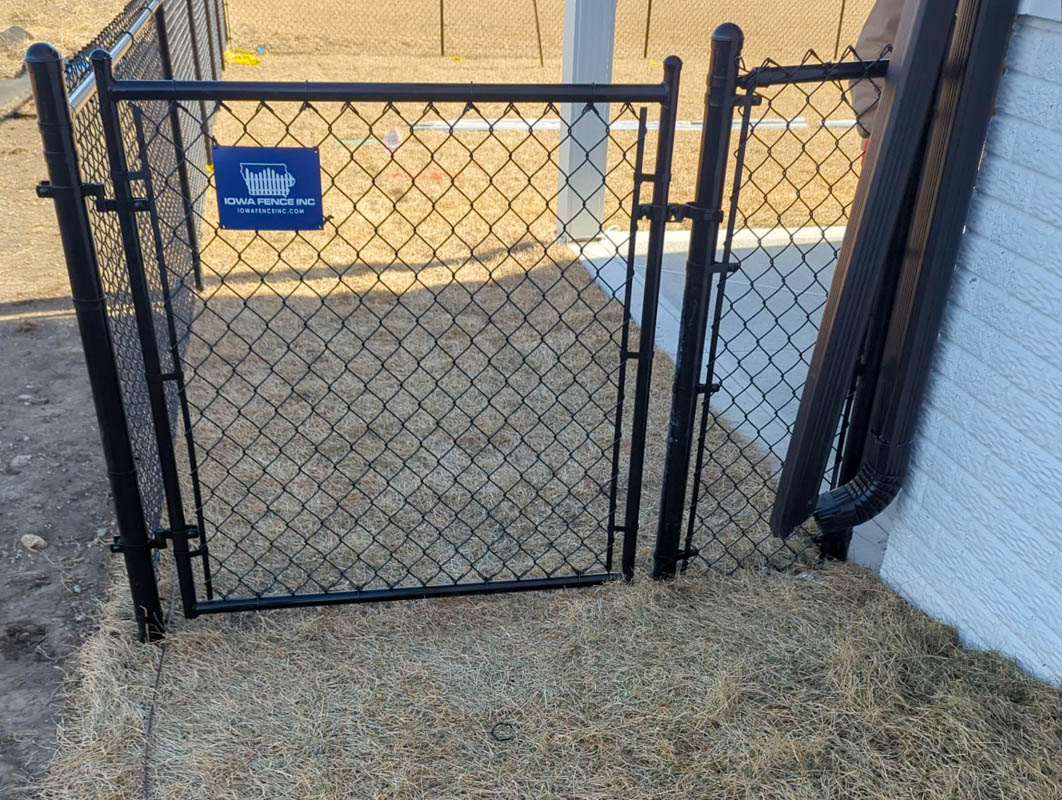
Installation typically takes place over one or more days, and a little planning keeps things safe and stress-free while the work is underway. Keep pets indoors or in a secure area away from the fence line, since open trenches, tools, and temporary gaps are common until the project is complete. If you have young children, let them know the yard is off-limits until the crew wraps up for the day. If your current fence or gate is being replaced, plan for a stretch of time when the yard will be open, and arrange an alternate way to keep pets contained during that window, whether that means a leash, a temporary pen, or simply supervising outdoor time more closely than usual.
It also helps to plan ahead for vehicle access. Crews typically need space near the work area to park a trailer and stage materials, so clearing a section of driveway or curb space in advance can speed things along. If your project includes gates you plan to use daily, such as a side entrance or a gate leading to a shed, mention that early so your installer can prioritize those sections first. It also helps to think about trash and recycling pickup, mail delivery, and any deliveries scheduled during the installation window, since leaving a clear path around the work area keeps daily routines running smoothly. While you wait for installation day, browsing a few finished projects in our project gallery can also help you picture how your finished fence will look once everything is in place.
Quick Checklist: Get Your Yard Ready Before Installation Day
Use this short checklist in the days leading up to your project:
- Clear furniture, plants, and debris from the fence line
- Talk with neighbors about the property line and project timeline
- Call 811 to have utility lines marked, and flag any private lines yourself
- Note any low spots, slopes, or drainage issues in the yard
- Confirm HOA approval, permits, and any height or material restrictions
- Secure pets and let kids know the yard is off-limits during installation
- Clear driveway or curb space for crew parking and material staging
Taking care of these steps ahead of time means your crew can focus entirely on building your fence instead of working around avoidable obstacles. Most homeowners find that spreading this checklist over a week or two, rather than trying to handle everything the day before, makes the whole process feel far less rushed.
Ready to Schedule Your Fence Installation?
A well-prepared yard leads to a smoother installation and a better-looking finished fence. Our team walks every property before work begins so we can flag anything that needs attention ahead of time, from drainage concerns to HOA paperwork, and we handle the entire project ourselves without outside subcontractors, so the same team you meet during your estimate is the one that builds your fence. When you are ready to move forward, reach out and Get a Free Estimate. We will help you plan every step, from utility marking to the final walkthrough, so your new fence goes in right the first time.
Want Practical Fencing Advice?
Get expert tips, central Iowa HOA guidance, material comparisons, installation best practices, and real homeowner insights from the Iowa Fence team in Bondurant.
Like this article? Spread the word!
Related Posts
Iowa Fence’s Guide to HOA and Pool Code Compliant Fencing in Ankeny, IA
Planning a fence or pool enclosure in Ankeny, IA? Learn HOA and pool code requirements…
Wood vs. Vinyl Fencing: Which Holds Up Better in Central Iowa Winters?
Wondering whether wood or vinyl fencing holds up better in Iowa winters? Compare…
7 Signs Your Fence Needs Repair or Replacement
Learn the 7 signs your central Iowa fence needs repair or replacement before damage…